Choose your deployment method:
  • Cloud Platform
  • Local Development

Get started in three steps (Cloud)

Watch how to get started with InsForge in under 2 minutes

Step 1: Create your project

Go to Insforge Cloud

Visit insforge.dev and create a free account
Once logged in:
  1. Click “Create New Project”
  2. Your backend will be ready in ~3 seconds
You’ll get:
  • API URL: https://your-app.us-east.insforge.app
  • Dashboard: Project management dashboard
  • Database: PostgreSQL with automatic REST APIs
  • Storage: File upload and management
  • AI Integration: Built-in AI capabilities

Step 2: Connect your AI agent

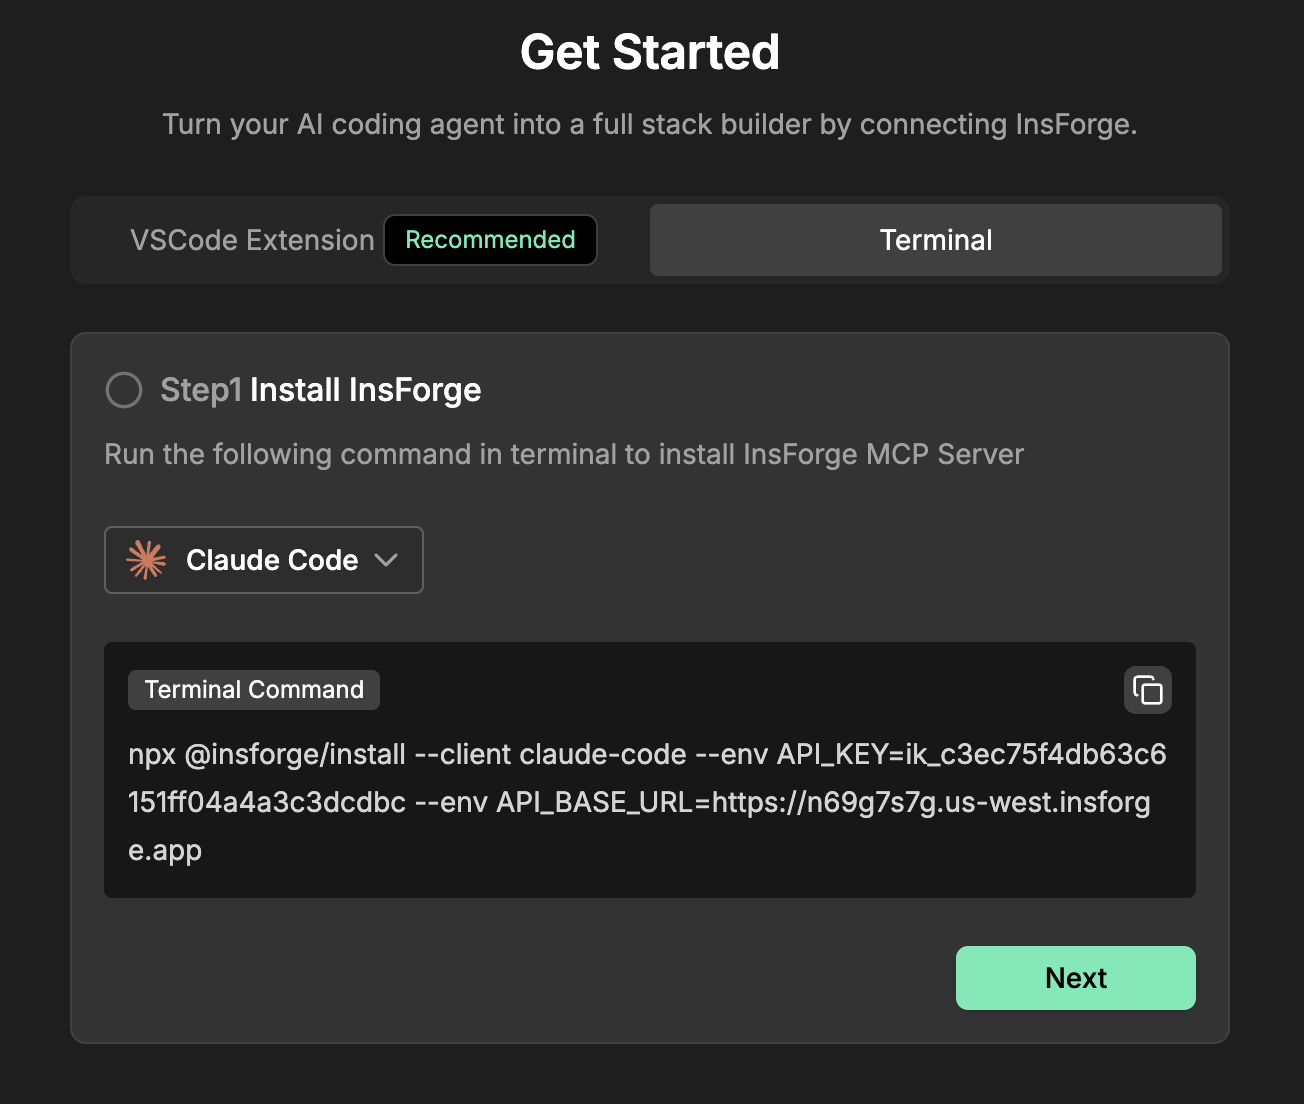
Insforge Dashboard ConnectIn your project dashboard:
  1. Click the Connect button
  2. Select your AI tool (Cursor, Claude, Windsurf, etc.)
  3. Copy the installation command - it includes your API key and URL automatically:
npx @insforge/install --client cursor \
  --env API_KEY=ik_d02a35cfd8056c18e9e59b34bf8bf773 \
  --env API_BASE_URL=https://your-app.us-east.insforge.app
  1. Run the command in your terminal
  2. Test with: “InsForge is my backend, what tables do I have?”
Cloud platform includes automatic backups, scaling, and zero maintenance.

Step 3: Build your first app

Create a new directory for your app (not inside the insforge folder):
mkdir my-app
cd my-app
Now tell your AI assistant to build something:
"Build a todo app with user authentication using Insforge as the backend"
Your AI will automatically:
  • Create database tables
  • Set up authentication
  • Handle file uploads
  • Generate a complete frontend

What you get

With Insforge running, your AI assistant has access to:

Database

PostgreSQL with instant REST APIs via PostgREST

Authentication

Complete auth system with JWT sessions

File Storage

S3-compatible storage for uploads

Consistent APIs

Every endpoint follows the same patterns

Try these examples

  • "Create a user registration and login system"
  • "Build an Instagram clone with image uploads"
  • "Add a comments system with voting"

API documentation

For complete API documentation, see the API Reference tab which includes:
All database tables you create automatically get REST endpoints through PostgREST.

Next steps

Troubleshooting

If port 7130 or 7131 is already in use, update the ports in your .env file:
API_PORT=8130
DASHBOARD_PORT=8131
Make sure Docker Desktop is running and you have sufficient disk space.
Verify Insforge is running by visiting http://localhost:7130/health
I